Properties
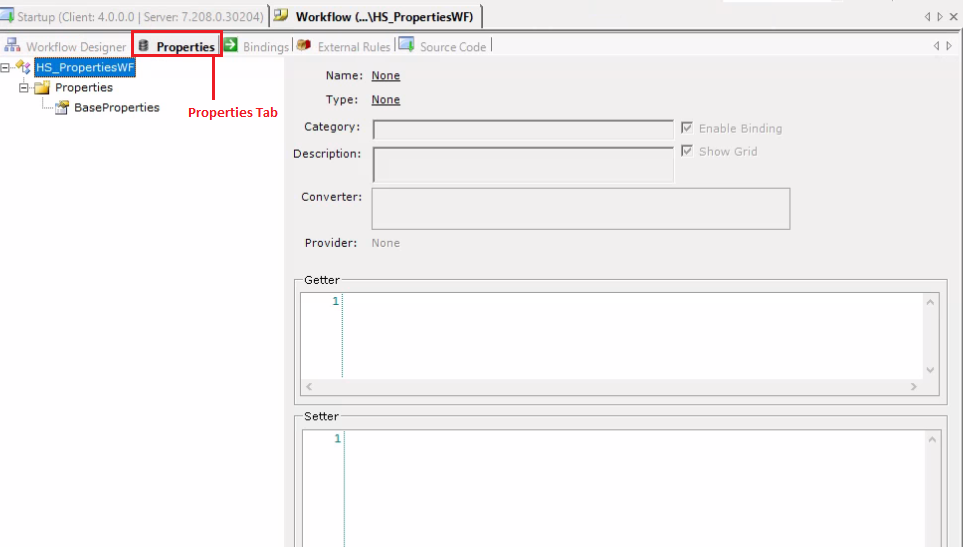
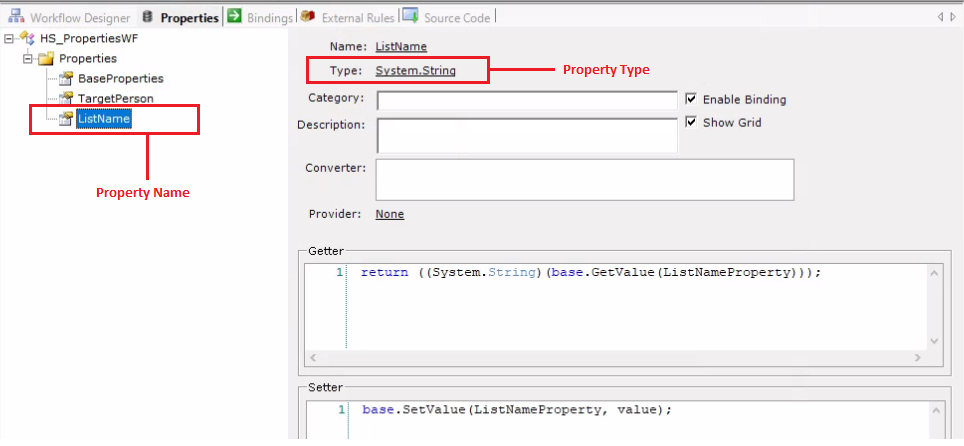
In Workflow Studio, you can create properties by going to the properties tab. These properties can be of different types, such as string, int, or even complex types like Person components or account components.
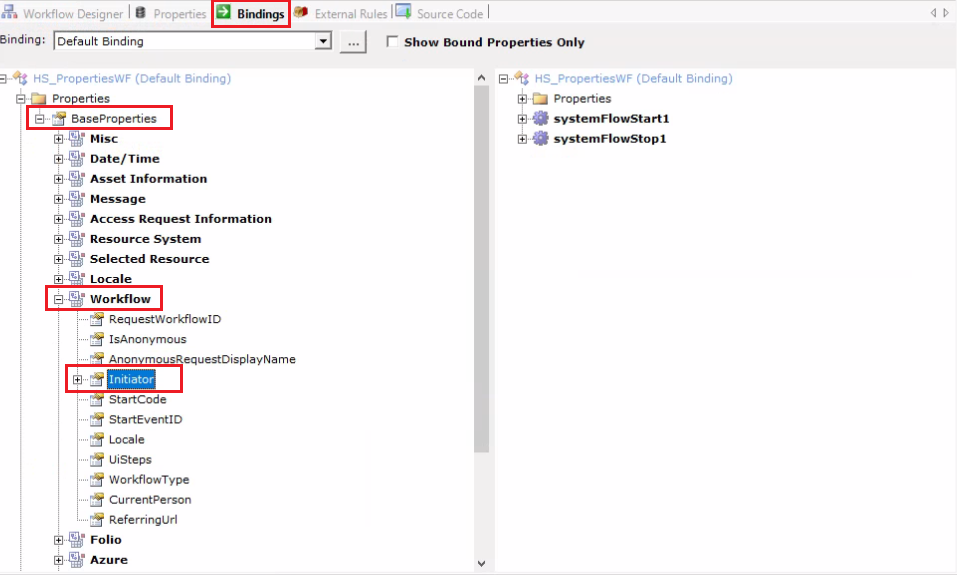
By default, we get Base Properties, which contains some of the built-in properties. For example, if you want to get information about the person who ran this workflow, you can access it through these Base Properties. If you want to check it, go to the Bindings tab, click on the Base Properties (it will expand), and then expand Workflow. Under Workflow, you'll find 'Initiator,' which contains the name of the person who initiated this workflow. See the image below for the Bindings Tab.
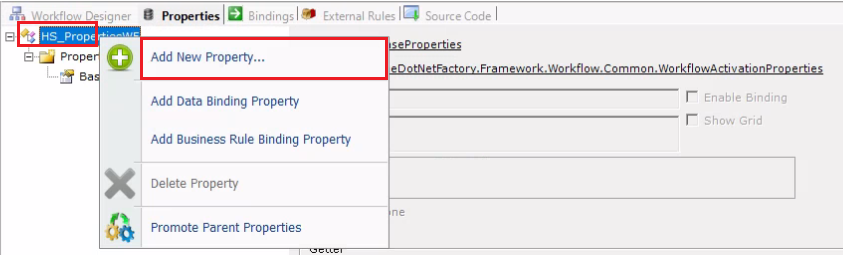
If you want to create a property, simply go to the properties tab, right-click on the parent node containing the name of your workflow, and select the Add New Property... option from there.
Workflow Data Provider dialog box will appear. EmpowerID offers several location choices for storing property data. In most cases, the Default Storage (Internal) option is used 95% of the time.
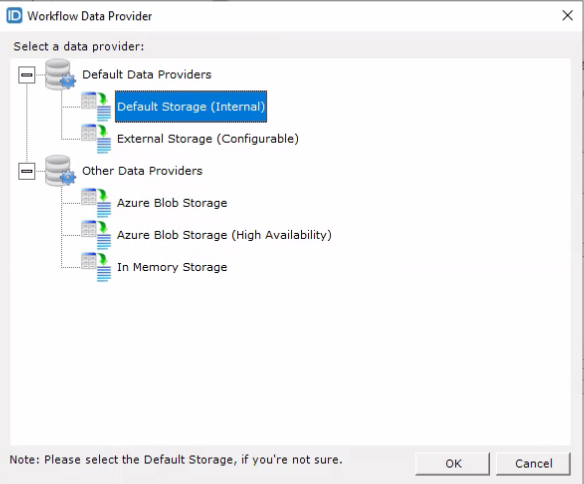
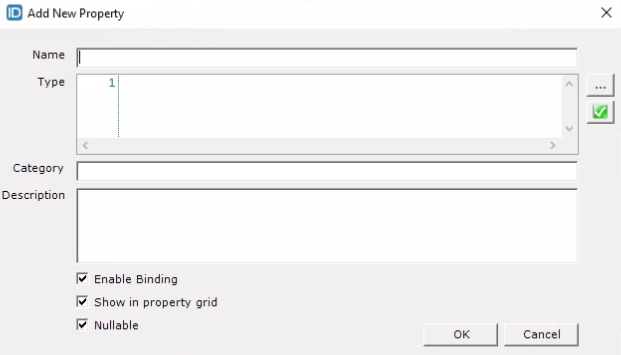
Select Default Storage (Internal) and click on the OK button; it will display the Add New Property dialog box. In the Name field, you can provide any name for your property, and in the Type field, you can define the type of your property, which can be either a basic type or a complex type.
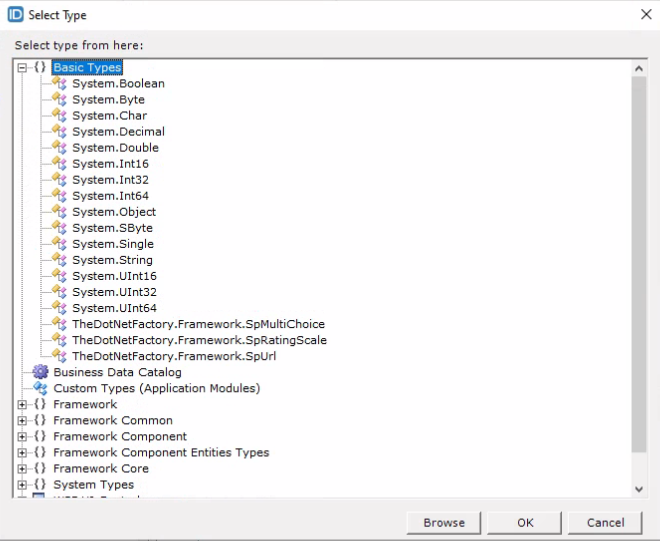
Here, we have created two properties: one is of type string, and the other one is of type Person. Complex objects can be added as properties, EmpowerID component objects are commonly used in most workflows.
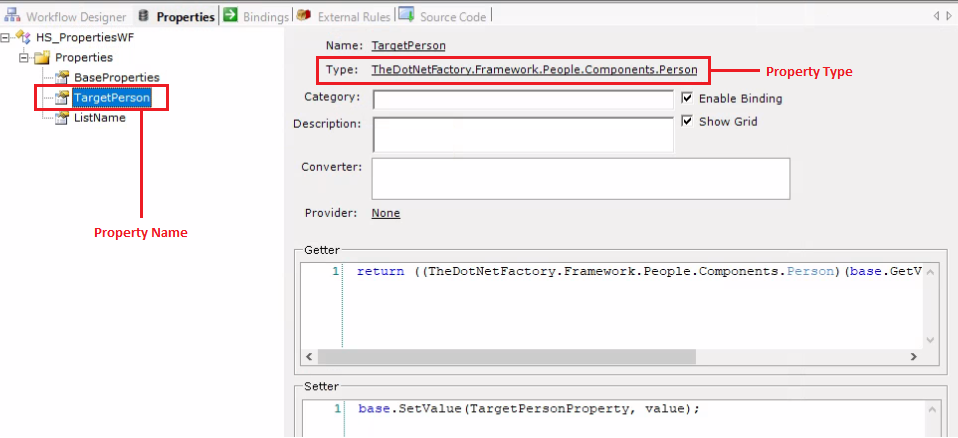
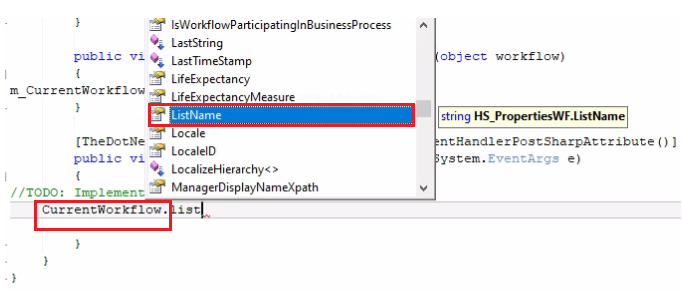
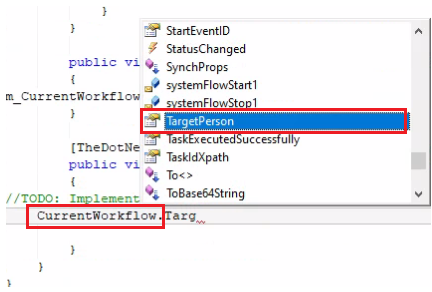
Prefixing your properties with “Target” makes it easier to find/select them later in intellisense.
The properties that we have created can be accessed or set throughout the workflow in the code.
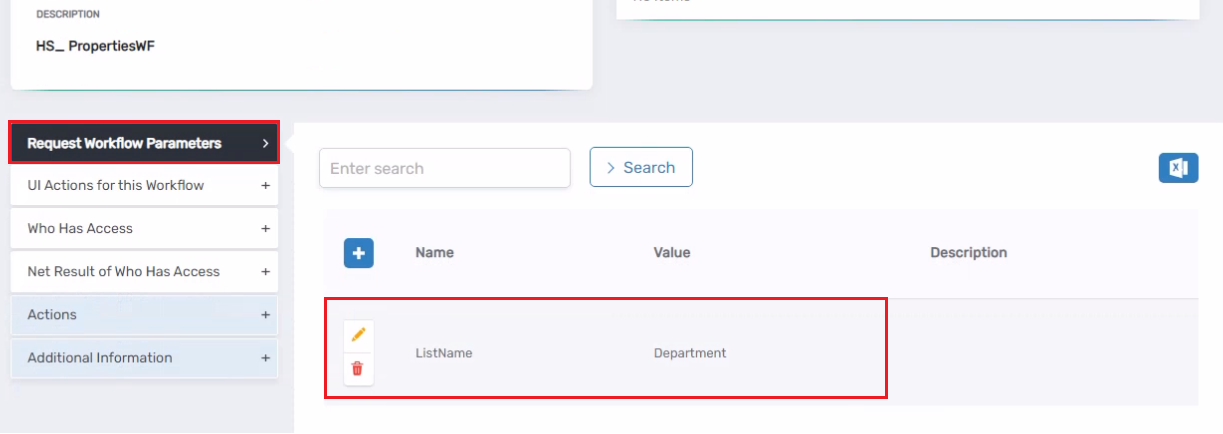
We can also set the values for properties from the EmpowerID Web UI. To do this, go to the ViewOne page for your workflow and then add the Request Workflow Parameters. However, make sure that the property name in your workflow studio exactly matches the Request Workflow Parameters.